——–
Note: NO, we didn’t have too much eggnog and accidentally re-publish a post from just before the holidays… We did, however, get a TON of reader requests from a lot of y’all who are using less and less Photoshop, and asked Scott if he could get similar results in Aperture or Lightroom. Short answer is YES. To that end, Scotty re-worked this image using Aperture and wanted to share his process with you here. Take it away Scott!
——-
Update: I just heard that this black & white work from Seattle 100 was just featured today in Communication Arts! I’m a huge fan of Comm Arts… very humbled and very stoked. Please check it out here. [thx Lou Maxon!]
—-
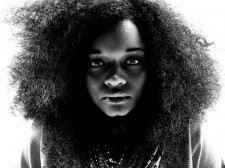
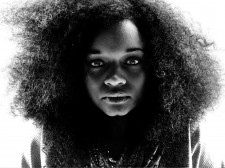
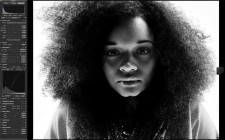
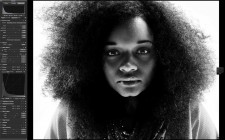
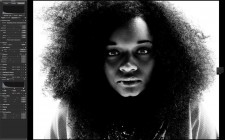
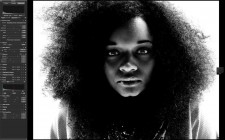
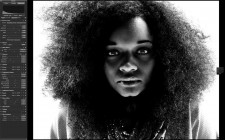
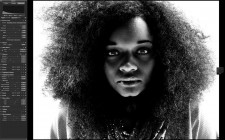
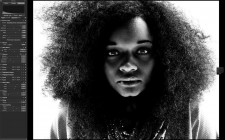
The above file on the left was processed entirely in Aperture. The above file on the right is the Photoshop version that we discussed before the holidays. One can certainly nitpick to find details that are different between the two, I know I did, but that would be missing the point.
Speaking of the point, let me get to it. These two images were processed with different RAW algorithms, retouched, adjusted, smooth, and sharpened with different tools with different abilities and nuances. People will rant and rave ad nauseum online about the differences between software offerings. Yet despite all of the obvious discrepancies between the Aperture and Photoshop methods, the net result is very much the same. The vision is important, the method is not. Join me after the jump to learn more.
Lest I come off ungrateful, let me make clear that I love the tools. Photoshop is a brilliant program that has literally set the bar. Aperture has more features packed in than ever though possible even a couple of years ago, and continues to encroach on ground that has historically been squarely in Adobe’s court while providing usability and integration that is absolutely groundbreaking. These two, and a number of other programs offer the photographer and retoucher a set of tools that provide almost limitless possibilities. These are fun times.
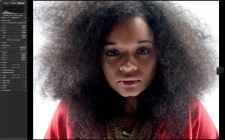
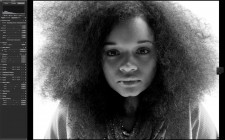
In the spirit of sharing and transparency, I’d like to run through the process that I went through in Aperture in order to create the final image, as long as y’all promise not to get too caught up in the details.
That’s it. Cool, eh? Let’s all go forth and play. Any software, any hardware. Just bring your creativity, it’s all you need.
BTW, if you haven’t seen the snazzy Seattle 100 site developed by our friends at TheSuperformula, there are about 900 more B&W images, plus a whole lot more. Check it out here and click around a little–it’s not to be missed. Happy New Year! -Scott







hi scott,
great couple of posts. i’m enjoying the book enormously. i’m so curious — in the actual printing (but i don’t see this on my computer & yes it’s calibrated) is a very interesting tone to the blacks — there’s a wonderful brownish warmth to them (to my eyes) that doesn’t get into sepia as it doesn’t affect the whites at all. it’s seems like just a really nice absence of blue that so often happens with b&w. i’m working on environmental portraits for a book, and would like to achieve a similar warmth. could you enlighten me? i’m using aperture and nik’s suite. thanks!
All this back and forthing, but no mention of Bridge..it seems to work for me, but will try Aperture again, have 2, but it just never took for me..I seem comfortable with Bridge..what am I missing here..thanks.
I use a Macbook and Aperture with PS Elements 6 for more involved edits (Rare). I love Apertures iPhoto like interface and it’s integration with OSX, but did try the Beta and eventual trial of LR3 and found the organisation and interface to be less intuitive but the editing tools to be better. As I had the full version of Aperture 3 I didn’t think the difference was big enough to own both, but may have bought LR3 if I had the choice between the 2.
Have been looking long and hard at Bibble 5.2 lately, it’s cataloging looks really fast as does it’s extensive editing. It has both layers and brushes as well as built in Noise Ninja and is non-destructive. Anyone use Bibble 5?
I am learning more and more about Macintosh, but in the meantime my knowledge is marginal. Subjectively looking at the two photos of Ms. Piece, I don’t see much of a difference in the photos, however I do notice that the highlight on the left side of the forehead, as well as the shadowing in the lower lip area seemed to be more pronounced in Apeture than in Photoshop. Maybe that is because I stared at one photo too long that I might be seeing that, but as I first stated, it’s a hard call.