——–
Note: NO, we didn’t have too much eggnog and accidentally re-publish a post from just before the holidays… We did, however, get a TON of reader requests from a lot of y’all who are using less and less Photoshop, and asked Scott if he could get similar results in Aperture or Lightroom. Short answer is YES. To that end, Scotty re-worked this image using Aperture and wanted to share his process with you here. Take it away Scott!
——-
Update: I just heard that this black & white work from Seattle 100 was just featured today in Communication Arts! I’m a huge fan of Comm Arts… very humbled and very stoked. Please check it out here. [thx Lou Maxon!]
—-
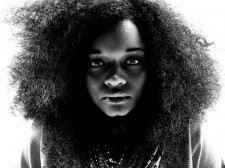
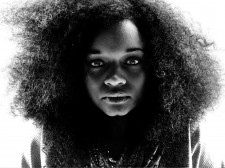
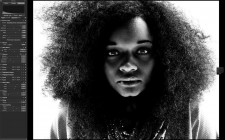
The above file on the left was processed entirely in Aperture. The above file on the right is the Photoshop version that we discussed before the holidays. One can certainly nitpick to find details that are different between the two, I know I did, but that would be missing the point.
Speaking of the point, let me get to it. These two images were processed with different RAW algorithms, retouched, adjusted, smooth, and sharpened with different tools with different abilities and nuances. People will rant and rave ad nauseum online about the differences between software offerings. Yet despite all of the obvious discrepancies between the Aperture and Photoshop methods, the net result is very much the same. The vision is important, the method is not. Join me after the jump to learn more.
Lest I come off ungrateful, let me make clear that I love the tools. Photoshop is a brilliant program that has literally set the bar. Aperture has more features packed in than ever though possible even a couple of years ago, and continues to encroach on ground that has historically been squarely in Adobe’s court while providing usability and integration that is absolutely groundbreaking. These two, and a number of other programs offer the photographer and retoucher a set of tools that provide almost limitless possibilities. These are fun times.
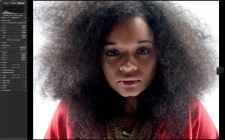
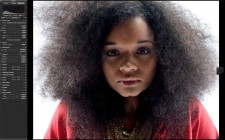
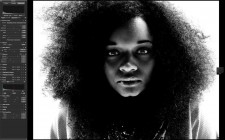
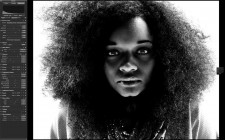
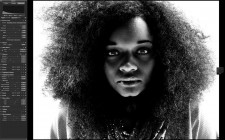
In the spirit of sharing and transparency, I’d like to run through the process that I went through in Aperture in order to create the final image, as long as y’all promise not to get too caught up in the details.
That’s it. Cool, eh? Let’s all go forth and play. Any software, any hardware. Just bring your creativity, it’s all you need.
BTW, if you haven’t seen the snazzy Seattle 100 site developed by our friends at TheSuperformula, there are about 900 more B&W images, plus a whole lot more. Check it out here and click around a little–it’s not to be missed. Happy New Year! -Scott

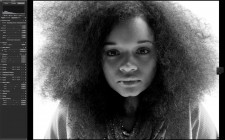
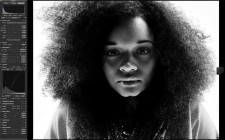
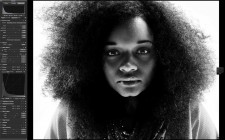
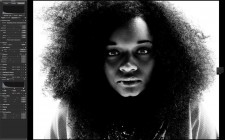






Because I have not used aperture extensively, I will not try to compare it to LR in terms of raw processing. However, when it comes to workflow, at some point you may want to tweak a raw image you have been working on in LR using PS. With a DNG processed in LR, you can jump between the two, with the same raw conversion. However you have to output a Tiff or Jpeg to proceed from Aperture.
With most retouchers using PS, I find the ability to give them an actual raw file, with ‘style’ attached an overwhelming advantage (this goes for Capture One as well).
Also, do you shoot tethered into Aperture? I find Capture One so much faster with Nikon, and other Raw files.
Colin, you make a valid point about the metadata moving with the RAW file between PS and LR, that is a nice feature. Since our retouching is done in-house I am able to choose a tool and generally stick with it from start to finish. When I am working on a file that will have extensive work done in Photoshop, I’ll create a very neutral RAW file and make my heavy work happen in PS. If the whole process can be done with the tools in Aperture I’ll use that all the way to final output.
Aperture has been getting better at integration with Photoshop, for instance your star ratings move across formats, but we’d all benefit from even greater integration for sure.
We do shoot tethered to Aperture with great success, I’ve used Capture One a bit and it is a very sold program as well. Which brings me back to the original point: it’s all good!
“Step 4. Curves brushed in to increase brightness in her eyes.”
I would love some tips on how to use curves to increase brightness in the eyes. I understand the whole “brushing in”-thing, but not how you would adjust curves in order to increase brightness in the eyes, rather than just using the dodge brush. Any tips would be greatly appreciated 🙂
Klaus, this is just a matter of brushing in a curve adjustment that is set to add brightness to the highs and mids. I like using the curve because you can be more precise about how much you’re influencing different light values within the adjustment area.
Nice one scott, proves that you can achieve anything with anything (does that make sense? lol). I’ve always do ‘basic’ color correction, b/w conversions and all the she-bangs with aperture I find it much simpler and straight forward for photographers, pro and amateurs alike.
It seems to me, it’s the artist, not the tools that make the difference. Thanks for the post.