You are a creative professional. Your time is your most valuable asset. The tools you use determine the ceiling of your execution. Adobe’s standard Generative Fill changed the industry, but for high-end production work, it often hits a wall. The resolution is too low, the text capabilities are non-existent, and the “hallucinations” (errors) are frequent.
Enter “Nano Banana.”

While the name sounds ridiculous—a viral nickname that stuck—the technology behind it is serious. This is Google’s Gemini 2.5 Flash Image model, wrapped into a workflow that integrates directly with Adobe Photoshop. It offers higher resolution, superior text rendering, and character consistency that standard tools cannot match.
Stop accepting “beige” results. If a tool delivers average work, it belongs in the middle. As a creative, the middle is toxic. You need tools that deliver “full rate” quality every time. This guide explains exactly how to install, configure, and execute professional-grade edits using Nano Banana in Photoshop.
What Is Nano Banana?
Nano Banana is the community name for the integration of Google’s advanced Gemini image models (specifically Gemini 2.5 Flash and Gemini 3 Pro) into the Photoshop environment.
Unlike Adobe Firefly, which is trained safe-for-commercial-use data (often limiting its stylistic range), Nano Banana leverages a broader, more aggressive dataset. This results in:
- Photorealism: Textures and lighting that match the source plate with higher fidelity.
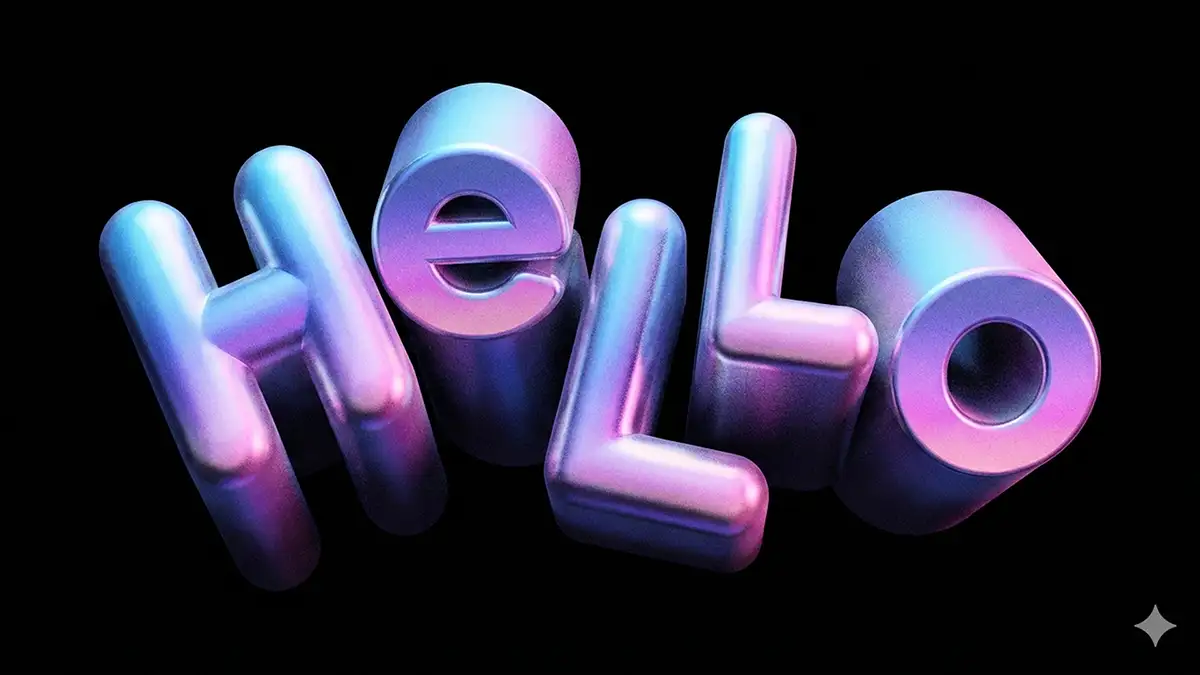
- Text Rendering: The ability to generate legible, accurate text within an image—a major failing of previous AI models.
- Object Persistence: It understands complex requests to keep a subject’s identity consistent across different generations.
You can access this technology in two ways: through a partner integration in the Photoshop Beta Contextual Task Bar, or via a third-party script/plugin that connects directly to the Google API. This guide focuses on the Plugin workflow, as it offers the granular control professional retouchers and compositors require.

Setting Up the Nano Banana Workflow
You cannot simply click a button and expect professional results. You must build the pipeline.
Step 1: Acquire the Plugin
You need the script file that bridges Photoshop to the Google API. This is typically a .jsx or .jsxbin file found on repositories like Aescripts or Gumroad. Download the latest version of the “Nano Banana Generative Fill” plugin.
Step 2: Install the Script
Do not just drag the file into the window. Install it properly to ensure stability during high-res processing.
- Close Photoshop completely.
- Navigate to your Photoshop installation directory.
- Mac:
Applications > Adobe Photoshop 2025 > Presets > Scripts - Windows:
C:Program FilesAdobeAdobe Photoshop 2025PresetsScripts
- Mac:
- Copy the downloaded Nano Banana file into this folder.
- Launch Photoshop.
Step 3: Connect the API Key
The plugin is an empty shell without a brain. You must connect it to Google’s servers.
- Go to Google AI Studio.
- Sign in and click “Get API Key.”
- Create a new key for the “Gemini API.”
- Copy this string.
- In Photoshop, go to File > Scripts > Nano Banana.
- The first launch will prompt you for the API Key. Paste it in and save.
You now have a direct line to one of the world’s most powerful image models inside your primary workspace.
Precision Object Replacement
Standard AI often struggles with “grounding”—placing an object so it looks like it physically belongs in the scene. Nano Banana excels here because it calculates lighting arrays differently. Use this workflow for product swaps or set design changes.
The Selection Strategy
Do not use the Marquee tool. It is too boxy.
Do not use the Lasso tool carelessly.
- Select the Object Selection Tool (W) or use the Pen Tool (P) for a hard mechanical selection.
- Create a selection around the object you want to replace (e.g., a leather sofa).
- Critical Step: Expand your selection. Go to Select > Modify > Expand. Add 15–20 pixels. This gives the AI “padding” to blend the new pixels with the existing background pixels. Without this overlap, you will get a visible seam.
- Feather the selection by 2–5 pixels (Select > Modify > Feather) to soften the transition.
Executing the Prompt
Open the plugin interface (File > Scripts > Nano Banana).
In the prompt field, be clinically precise. Avoid poetic language.
- Bad: “A cool, vibey mid-century modern chair.”
- Good: “Mid-century modern armless chair, cognac leather texture, soft ambient studio lighting, cast shadow to the left.”
Using Reference Images
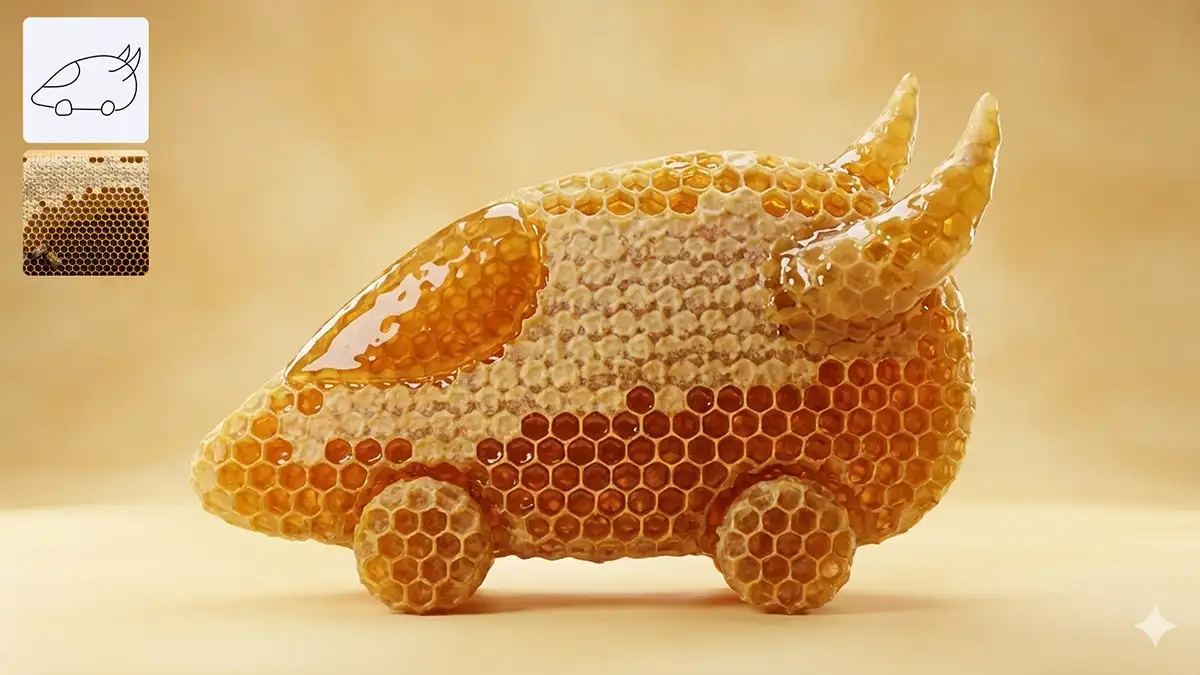
This is the feature that separates Nano Banana from Firefly. You can feed it a reference.
- In the plugin UI, locate the Reference Image slot.
- Upload a jpeg of the specific fabric or product style you need.
- Adjust the Influence Slider.
- Set to 30-40% for a loose stylistic match.
- Set to 70-80% if you need the generated object to look exactly like the reference photo.
Click Generate. The script will pull the data, process it in the cloud, and return the result as a new Smart Object layer. This is non-destructive. If you don’t like it, turn off the layer and refine the prompt.
Mastering Text and Typography
Nothing ruins a composite faster than gibberish AI text. Clients will not accept “lorem ipsum” scribbles in a final mockup. Nano Banana creates readable precision typography.
The Quotation Workflow
If you need specific text to appear in the image, you must use quotation marks in your prompt. This signals the model to treat the characters as a literal string, not a visual description.
Scenario: You are mocking up a storefront and need to change the sign to “JESSICA’S BAKERY.”
- Make a rectangular selection around the existing sign.
- Open the Nano Banana interface.
- Prompt:
Storefront signage with bold serif font reading "JESSICA’S BAKERY", weathered wood texture, white paint. - Settings: Ensure High Resolution or Pro Mode is checked. Text rendering requires more processing power to get the kerning and anti-aliasing correct.
The result will be a sign where the letters are straight, legible, and follow the perspective of the building.
Workflow for Character Consistency
For campaign work, you often need the same model in multiple scenarios. “Identity Drift” is the technical term for when usage of AI causes a person’s face to slowly morph into a different person. Nano Banana solves this with high-fidelity reference locking.
- Isolate the Face: Open your “Hero” shot of the model. Crop to their face and save this as a high-res JPEG.
- Scene Setup: Open your new background or target scene in Photoshop. Make a selection where the subject should be.
- Reference Injection: In the Nano Banana plugin, upload the Hero Face JPEG into the reference slot.
- The Prompt: Describe the action and clothing, not the face.
Woman wearing a red trench coat walking away from camera, confident posture, cinematically lit. - Consistency Setting: Look for a checkbox or slider labeled “Character Identity” or “Face fix”. Enable it.
The AI will effectively “paint” the new pose while constantly checking the reference pixels to ensure the nose shape, eye distance, and jawline match the Hero shot. This is essential for storyboarding or pitching ad concepts where the talent needs to look the same in Frame 1 and Frame 10.
Managing Costs and API Credits
Quality is not free. While Adobe’s credits are included in your Creative Cloud subscription, using a direct API connection to Google (or a third-party wrapper) usually incurs a usage cost.
Typically, you pay per “token” or per generation.
- Standard Edit: ~$0.01 – $0.02
- High-Res / Pro Edit: ~$0.04 – $0.10
Do not flinch at these costs. Do the math. If an intricate retouch takes you three hours to do manually, and Nano Banana does it in 15 seconds for ten cents, the ROI is massive.
This goes back to the philosophy of “Full Rate or Free.” If you are charging a professional day rate, you absorb these small costs as overhead because they allow you to deliver a superior product faster. Do not cheap out on tools that give you an edge. If the client budget is too low to cover a few dollars of API usage, you probably shouldn’t have taken the job.
Troubleshooting Common Artifacts
Even the best models glitch. Here is how to fix common Nano Banana issues effectively.
The Halo Effect
Sometimes a thin white or dark line appears around the generated object.
- Fix: Select the generated layer’s mask. Go to Filter > Other > Minimum. Set radius to 1 or 2 pixels. This “chokes” the mask and hides the fringe.
Resolution Mismatch
The generated patch looks softer than the surrounding film grain.
- Fix: Add noise. Go to Filter > Noise > Add Noise. Check “Monochromatic” and “Gaussian.” Match the percentage to your source plate (usually 1-3%). This grounds the slick AI pixels into the gritty reality of photography.
Color Cast
The lighting direction provides the right shadows, but the color temperature is off (e.g., too blue for a sunset shot).
- Fix: Clip a Curves Adjustment Layer to the generated Smart Object. Use the Grey Point eyedropper to sample a neutral gray in the generated area, or manually tweak the Red/Blue channels to match the background plate.
Conclusion
Nano Banana is not a magic wand that replaces your skill. It is a power drill. In the hands of an amateur, it destroys the wall. In the hands of a pro, it builds the house in half the time.
The industry is moving toward hybrid workflows where manual masking, color grading, and composition merge with AI generation. By integrating Nano Banana into your Photoshop pipeline, you gain access to the sharpest, most consistent generation model currently available.
Experiment with the settings. Push the reference image sliders. Learn the quirks of the prompt engine. The goal is not just to use the tool, but to master it so thoroughly that the technology becomes invisible, and only your creative vision remains.

