
Creative work is about exploration. It requires the freedom to try new ideas, make mistakes, and iterate until you find the perfect expression of your vision. When you work with standard text prompts, that process often feels rigid. You type a paragraph, wait for a result, and then have to rewrite the entire block of text just to change the lighting. It kills the flow.
Weavy (aka Figma Weave) offers a different approach that brings the joy back into the process. By using the Prompt Concatenator, Array, and List nodes, you can build a system that is flexible and responsive. You stop wrestling with text and start directing the image.
This workflow allows you to swap out variables instantly. You can change the lighting from “cool” to “warm” or the setting from “clean” to “gritty” with a single click. It gives you the same level of control you have on a physical set, where you can adjust a light or move a prop without rebuilding the entire scene.

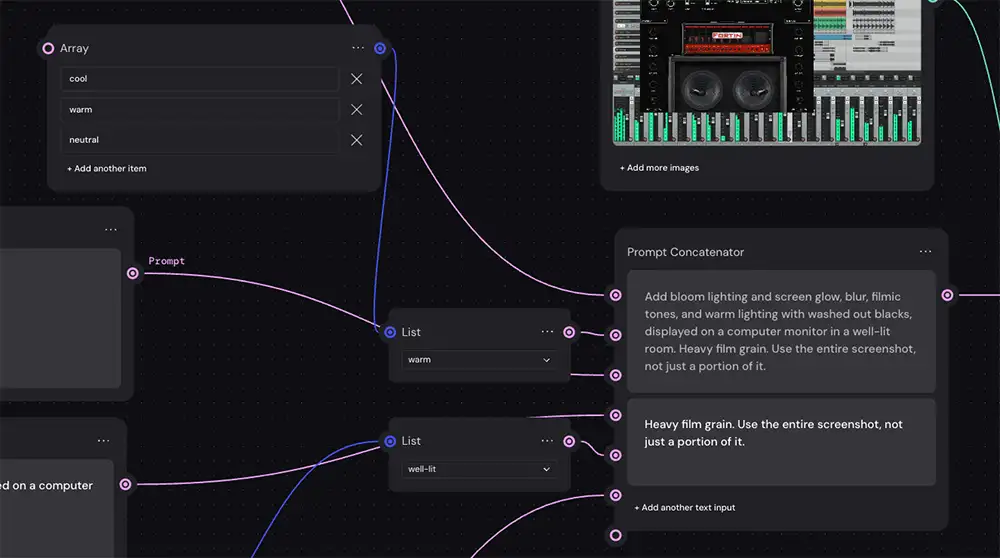
The image above shows a workflow designed for experimentation. Instead of one long, static prompt, the instructions are broken down into modular pieces. This makes the process feel less like coding and more like creating.
Array & List Nodes
The Array node is where you define your options- just think of it as a bunch of options. You can put anything in here. In the example, there is an array for lighting temperatures and another for environment descriptions.
You might create an array for different film stocks, color palettes, or artistic styles. This is where you brainstorm. You load up the array with every idea you want to test so they’re ready when you need them – all the same things you’d be thinking about on set at a photo shoot, but couldn’t pull off due to time and budget (“What if we had a massive spotlight over there??”).
The List node is your decision point (“chooser” or “dropdown” might have been a better name for this). It connects to your Array and lets you choose which option is active, from the options in the array.
This is where the speed comes in. If you want to see how your subject looks in “neutral” light instead of “warm” light, you don’t need to type anything… You simply select “neutral” from the list. See how powerful this is? You can try out every possible combination of lighting, color temperature, film stock, shot length, etc etc.
The Prompt Concatenator
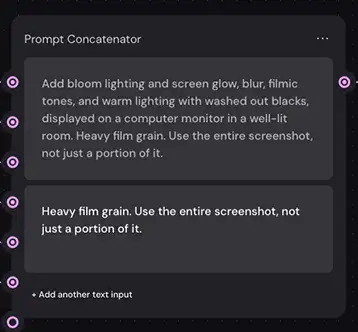
The Prompt Concatenator is the Weavy tool that stitches everything together – again, not the most intuitive naming, but the actual functionality is simple… it just adds up all the text snippets you use as inputs: A + B + C… etc.
Combine this with arrays and lists and you see the power:
- Lighting intensity
- Moody
- Twilight
- Bright
- Blinding
- Shot length
- Extreme closeup
- Closeup
- Medium
- Long
- Color temperature
- Warm
- Neutral
- Cool
Mix and match each of these (and more) into an essentially limitless number of combinations – the only boundary is your creativity (and, to be fair, your token budget). This saves you from typing up an endless number of prompts and helps you keep track of all your ideas in a nice tidy series of arrays/lists.
And btw, as far as I’m aware this is one of the big features you won’t find in Flora, which sets Weavy apart.
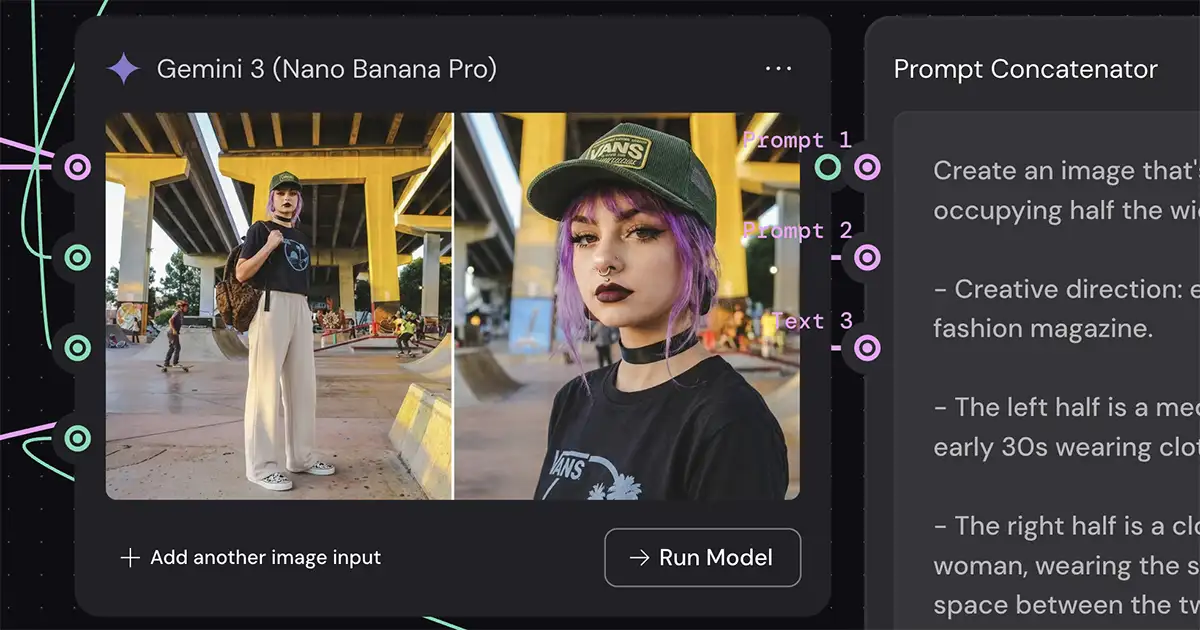
Now add Gemini 3 Pro and it gets REALLY fun…
This modular approach in Weavy/Figma Weave is especially powerful when paired with a high-quality model like Gemini 3 Pro Images (Nano Banana). These models are sensitive to nuance.
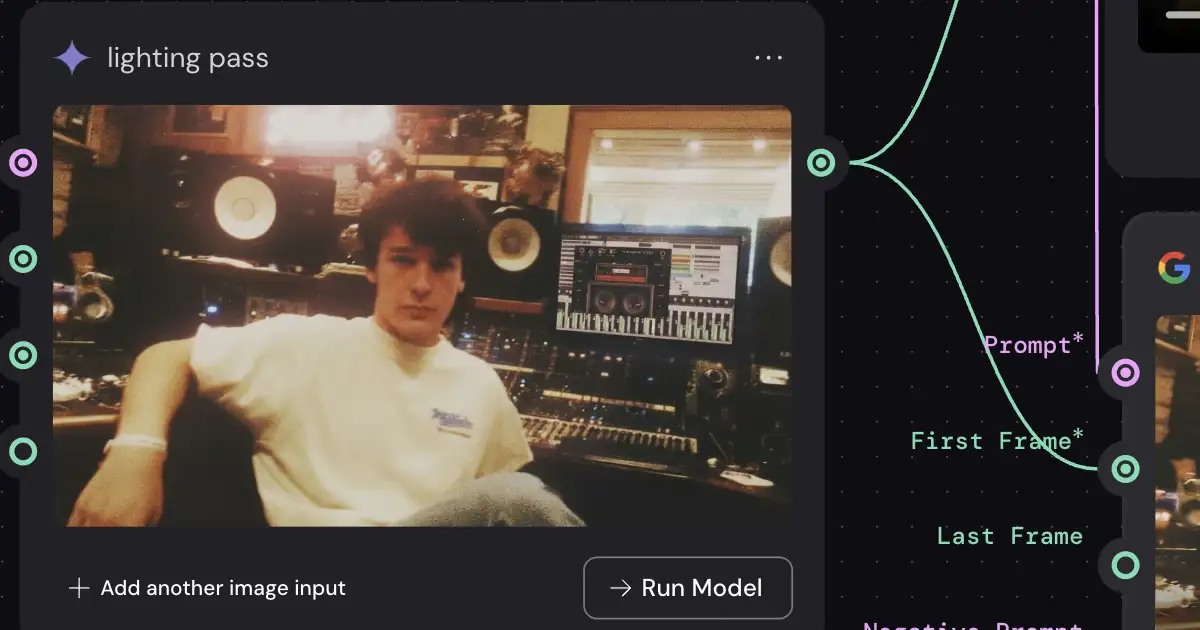
When you have this level of control, you can fine-tune the image until it matches what is in your head. You can take a base image, such as the mixing desk shot in the example, and radically alter the mood. You can make it cinematic and moody, bright and commercial, or anything else you can think of… even clone the style of one image and apply it to others.
This workflow turns AI generation into a true creative instrument. You’re not just rolling the dice and hoping for a good result, you’re deliberately crafting an image, exploring possibilities, and having fun with the infinite potential at your fingertips.
Example: I wrote a detailed tutorial on how to use this to set up a virtual fashion product shoot.
Give it a shot and let me know what you think!


")

")

")


