
The debate between MidJourney and ComfyUI is still a defining conversation for AI artists. Both tools can create industry-standard imagery, but they serve fundamentally different roles in a production pipeline.
The choice is not about image quality, as both generate high-fidelity results. The choice is about process. Do you need an “Artist” that generates beautiful ideas instantly, or a “Technician” that executes precise instructions without deviation?
This guide breaks down the pros and cons of each platform and explains why the most powerful workflow involves using them together.
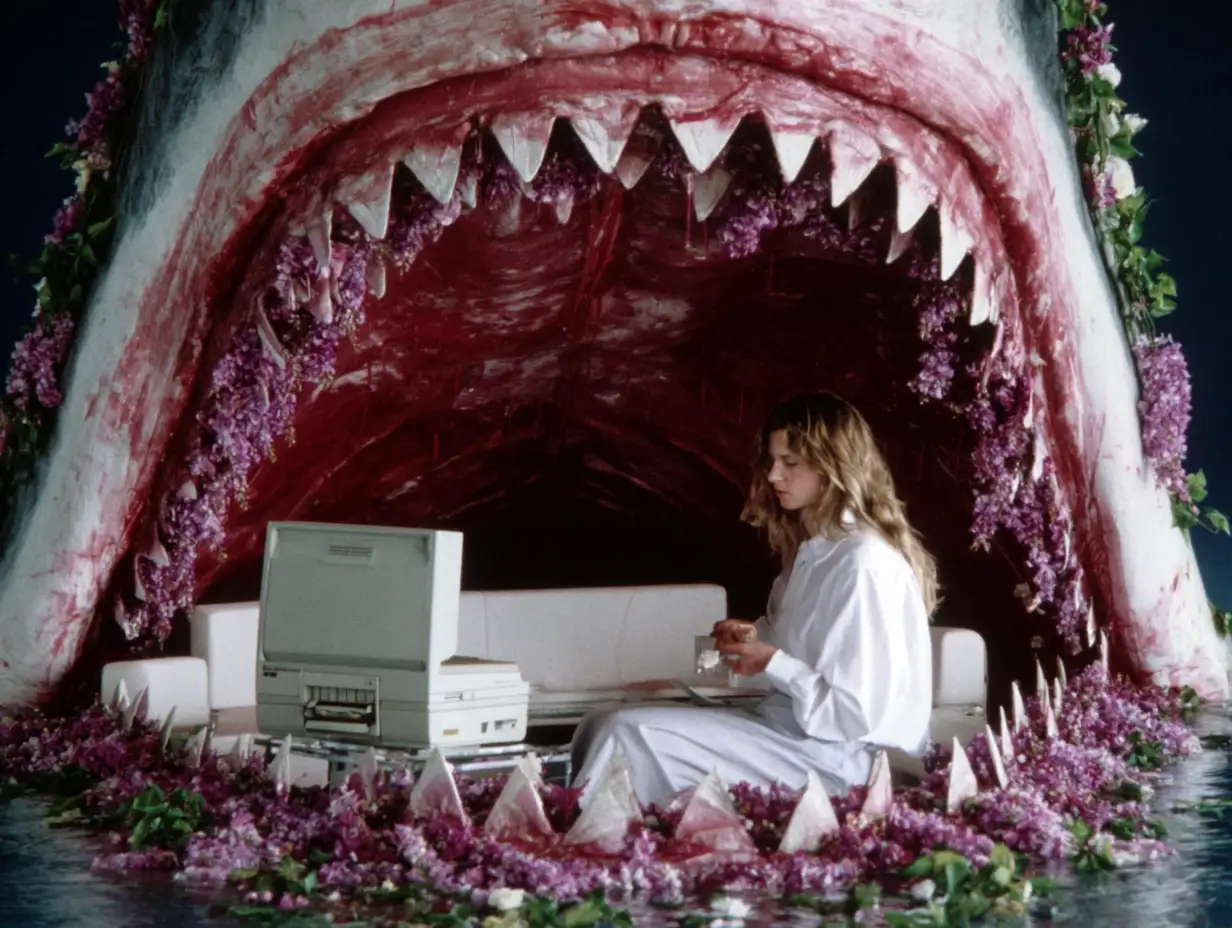
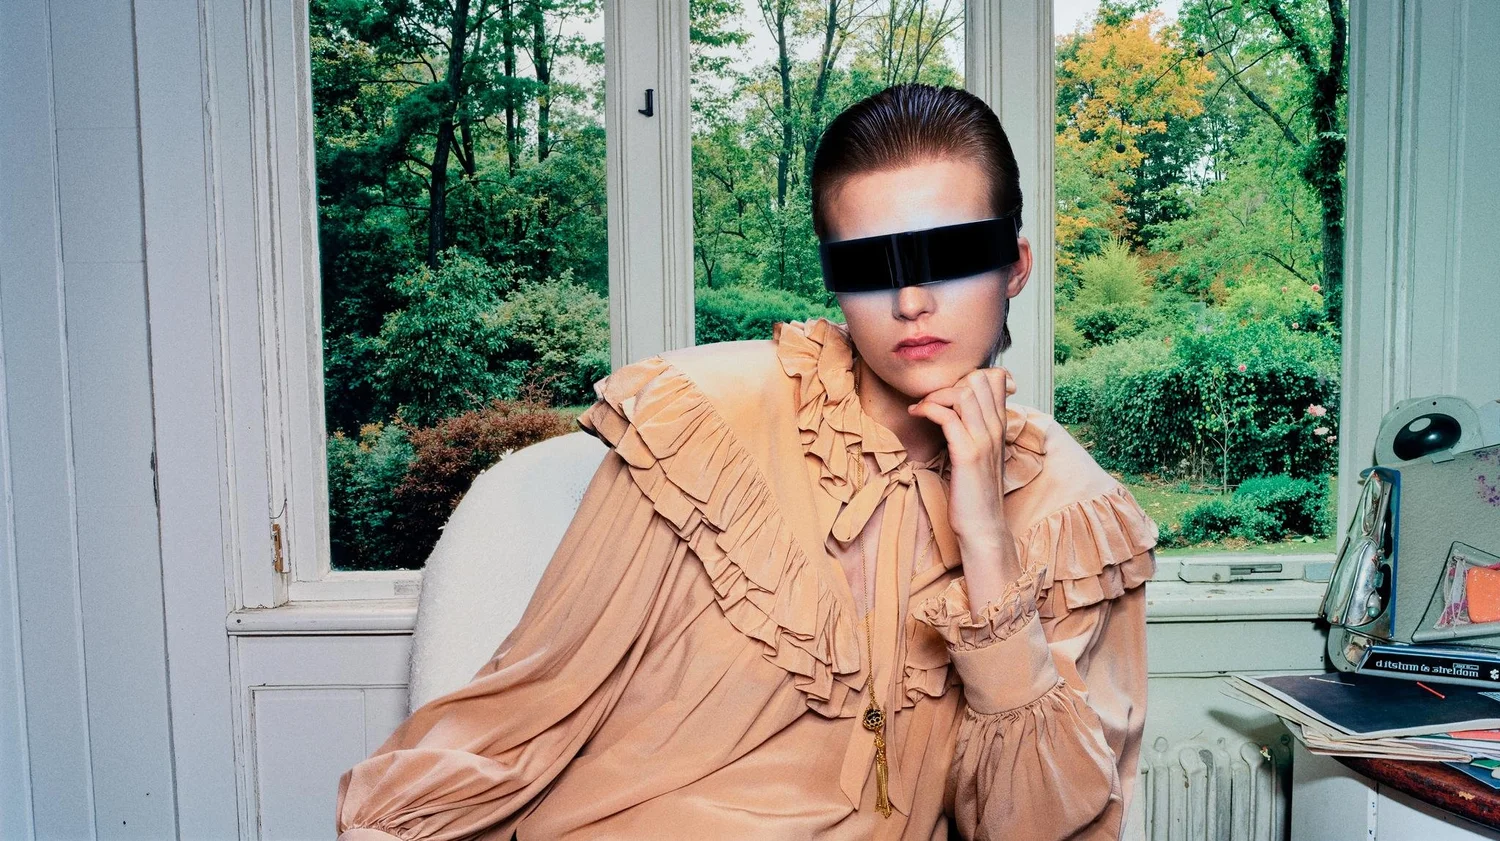
Midjourney is amazing for slightly weird, artistic images like these (and doing it pretty quickly)
MidJourney: Unmatched aesthetics and vibes
MidJourney remains the leader in pure aesthetics – there’s just nothing else that can create the kind of images that, for lack of a better word, feel like art. However, it prioritizes “beauty” and “vibe” over strict adherence to spatial instructions.
The Pros
-
Aesthetic Superiority: MidJourney V7 currently holds the edge in “stylistic coherence.” It understands complex artistic concepts (e.g., “90s dreamcore,” “cinematic melancholy”) and applies a unified color grade and texture that often feels more “finished” than raw local model outputs.
-
Speed: It is the fastest way to get from a text prompt to a high-quality image. There is no setup, no node graph, and no hardware requirement.
-
Texture Generation: It excels at creating rich, organic textures (glitter, oil paint, film grain, etc) that can be difficult to dial in manually on other platforms.
The Cons
-
Lack of Structural Control: MidJourney is an “opinionated” AI. If you ask for a specific composition (e.g., “a character standing exactly here”), it will often move the character to improve the lighting or balance. It prioritizes a good image over an accurate one.
-
Inconsistency: Generating the exact same character or object from multiple angles is difficult. While features like “Character Reference” exist, they are less rigid than the mathematical consistency of a 3D pipeline.
Best For: Concept art, mood boards, generating style references, and “blue sky” ideation where the vibe matters more than the specific layout.

Image credit: ThinkDiffusion
ComfyUI: Ultimate, pixel-level control
ComfyUI is a node-based interface for running local models like Flux.1 and SD3.5. It is disconnected from the “magic” of MidJourney’s default style, offering instead a blank canvas where you build the image generation pipeline yourself.
The Pros
-
Absolute Control: ComfyUI allows you to dictate the structure of an image pixel-for-pixel. Using ControlNet (Depth, Pose, Canny) and LORAs, you can force the AI to respect a specific wireframe, 3D blockout, or composition sketch. It will not move your subject to make the image “prettier.”
-
Modularity: You can separate the “style” from the “content.” You can tell ComfyUI to take the structure of Image A and paint it with the texture of Image B.
-
Privacy and Cost: It runs locally on your hardware. There are no subscription fees (after hardware costs) and no data is sent to the cloud.
The Cons
-
Steep Learning Curve: ComfyUI is technical. You are essentially acting as a visual programmer, connecting nodes for “Model Loaders,” “KSamplers,” and “VAE Decoders.”
-
“Clinical” Output: Local models like Flux are incredibly realistic but can sometimes feel sterile or flat compared to the dramatic, baked-in lighting of MidJourney.
Best For: Final client deliverables, specific product placement, asset generation for games/VFX, and workflows requiring strict adherence to a layout.
Top AI artists like AI SAM have a hybrid workflow that uses every tool for what it’s good at
The Verdict: Don’t Choose, Use Both
The most effective workflow in 2026 is not MidJourney vs. ComfyUI, but MidJourney into ComfyUI.
Professionals are finding that these tools cover each other’s blind spots. MidJourney provides the “Style,” and ComfyUI provides the “Structure.”
The Hybrid Workflow
Instead of struggling to control MidJourney or struggling to make ComfyUI look artistic, use this three-step pipeline:
-
Create the Structure (External/ComfyUI): Start with a rough 3D blockout, a Photoshop mockup, a sketch, or a stock photo that has the exact composition you need. This is your geometry.
-
Generate the Style (MidJourney): Use your blockout as an Image Prompt in MidJourney and ask for the aesthetic you want (e.g., “sparkly 90s aesthetic”). Don’t worry if the geometry gets messed up; you’re only generating this image to harvest its texture and lighting.
-
Assemble the Image (ComfyUI):
-
Load your Structure image into a ControlNet (Depth) node. This forces the AI to follow your layout perfectly.
-
Load your Style image (from MidJourney) into an IPAdapter node. This forces the AI to use the colors and textures from MidJourney.
-
Generate the final result.
-
By using this method, you’ve got the “Holy Grail” of AI production: the rigid control of a 3D render with the artistic soul of MidJourney.


")


")

? The 100% honest review...")

")